Friday, March 21, 2014

Manicure Tip: Don't Flood the Cuticle!

Hi guys! Today I'm just going to do a quickie post. Read on for a tip for when you're painting your nails!

Take a look at these two pictures of my manicures. Obviously, the colors are different, but what is the other main difference?

Essie Mint Candy Apple (Matte)
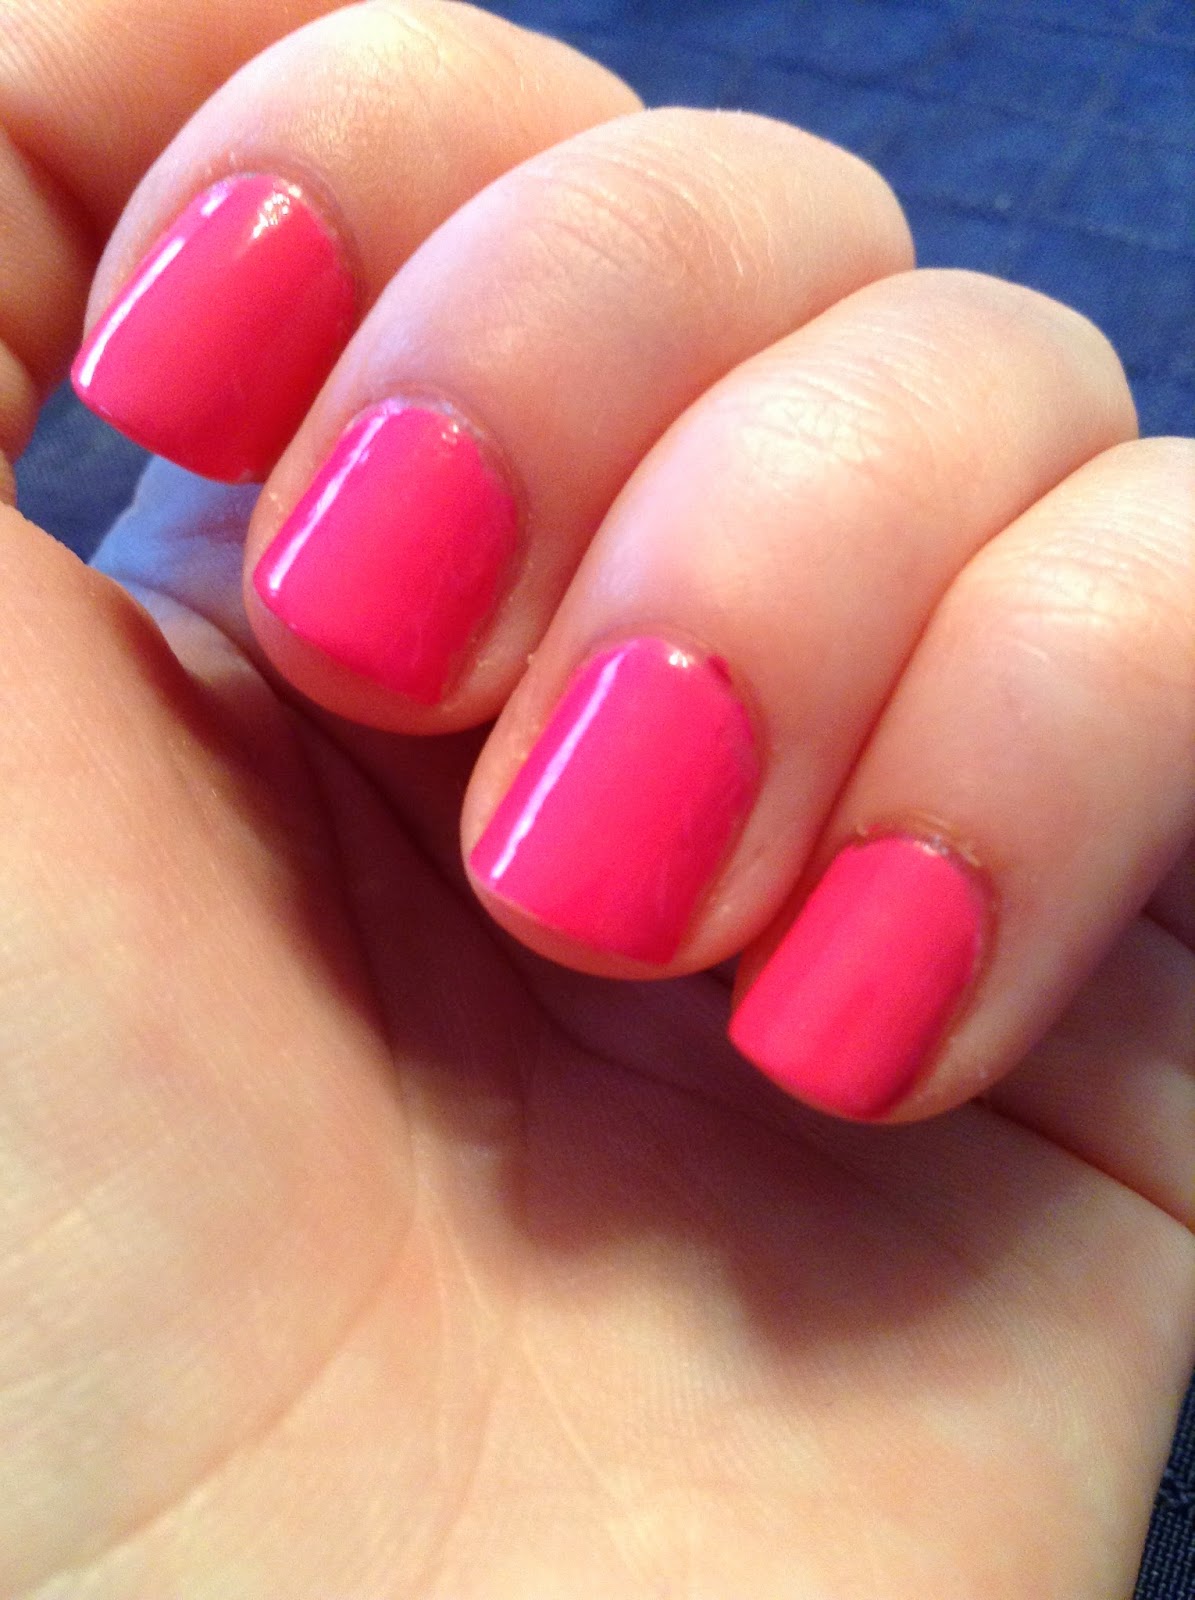
Essie Mod Square
You got it! The application! Notice that on the first mani the color goes alllllllll the way back, flooding the cuticle... Not very attractive. In the second mani, the polish doesn't go that far back. It leaves a tiny, tiny space, just before the cuticle.

Notice what a difference stopping before you paint your WHOLE nail makes! With a little more precision and care, you can achieve a look that is professional, rather than one that screams "I'm an amateur just slopping polish onto my nails!"

So! The next time you paint your nails, be careful to stop just short of your cuticle! It makes a huge difference and you'll be a lot happier with the result.

That's all for this post! See you next time!

....................................................................................

XOXO

Is

Sunday, March 16, 2014

Essie Mod Square Swatch and Review

Hello, anyone and everyone who loves nails and/or is viewing this blog! Today I have a swatch and review to share with you. The polish is called Mod Square and it's by Essie. I purchased it at CVS for $8.50.
 

This polish is a gorgeous shade of pink. It's kind of like a hot pink, but not as neon and bright as some hot pinks. It's more muted, but the color is very saturated and eye-catching.


The formula is great! Not too watery, as I have found with some of Essie's other polishes, but not too thick. The application is easy-peasy--it glides right on without a hitch.


This is what it looks like on my nails. I used two coats. The first coat was a little sheer, but the second made it totally opaque (as expected). As for the chip factor, I'm pretty happy with it so far. It's been three days and it hasn't chipped at all!
I would give this polish five stars! I absolutely LOVE the color, and the formula and application are wonderful. This polish is great if you want a girly manicure that's eye-catching and pretty, but not too flashy. Thanks for reading, and check back soon for more posts!

........................................................................................................
XOXO
Is

Inside-Out Stripes Nail Art Tutorial

Hello, everyone! Today I'm going to share an easy nail art tutorial with you. I got the inspiration from this nail design, actually. (I could not find the original source, so if you know it please comment down below!)
 26 Glamorous Nail Art Designs
 So, in an attempt to recreate it, here was the result:


And now for the tutorial! 

You will need at least two polishes for this design. It looks best if you use two colors of the same hue, but in different shades. The deep fuchsia I used is Essie Big Spender. The lighter pink I used is Essie Fiji. If you'd like to add a little extra oomph, you can use a fine glitter polish. The one I used is Color Club Hot Couture. It has a pink-tinted almost clear base with fine light pink glitter. You will also need striping tape and, if you so desire, a base coat (I use Essie Grow Stronger to strengthen my nails) and a top coat (I use Milani's Quick Dry Top Coat).


First, apply your base coat and two coats of one of your polishes, preferably the darker of the two. Let it dry for as long as you can. The minimum should be about 15-20 minutes.
 
Next, take two pieces of striping tape and place them as shown here. Have about enough space between them that you could place another piece of tape there, if you needed to.


Now take your other polish, the lighter color, and paint the section from the piece of tape nearest to your cuticle down towards the tip, as shown here. Paint one coat, let it dry for 30 seconds, and then paint the second. Wait 10 seconds and then slowly and carefully peel the tape off.


 Let the polish dry for at least 10 minutes and apply the glitter polish, if you are using one, wait another 2 minutes, and apply the top coat. If you are not using a glitter polish, wait 10 minutes and then apply the top coat.


I hope you enjoyed this tutorial and that your recreations will be successful!

.....................................................................

XOXO
Is