Hey, all you nail lovers! I have a manicure to share with you today that I'm SO proud of. Believe it or not, I attempted my first ever French manicure today!

I'm really excited! It turned out great. It adds such an elegant yet simple look to my nails. And it was pretty easy!
First, let's go over the basics. If you don't know, a classic French manicure consists of two things. The first thing is a base color. This color is typically a nude or pinkish color, and most of the time it's sheer. Essie has a great selection when it comes to French mani base colors. Check them out here. The second element of a French manicure, which is generally how you can tell that it's a French, is a swipe of white at the tip of the nail. Any white will work, but if you want to stick with Essie, try Blanc or Marshmallow. Blanc is a basic white; Marshmallow is sheerer and not as white-out-white as a regular white. (Wow, let's say "white" one more time.)
Basically, a French manicure is meant to look au natural; like your nails, but more polished and perfect.
So let's jump right in to the tutorial.
Sorry, I didn't take pictures because I didn't figure I would make a tutorial. :) But you'll probably be able to understand. If you don't, leave me a comment!
You will need: a base coat, a base color, a white polish (preferably pretty opaque in one coat), and a top coat. (Note: this is for just the polish. If you are giving yourself a full on manicure, you will also need whatever other materials you usually use. I use CeraVe hand cream, Essie's Apricot Cuticle Oil, a Q-tip dipped in cuticle oil to push back my cuticles, a nail clipper, and a glass nail file.) Also, for this particular method that I'm sharing with you today, you ABSOLUTELY NEED reinforcement labels. You know, the little stickers that you use to repair a ripped hole in a hole-punched papers that you put in a binder. Ugh, is it just me or do your papers rip out of your binders ALL THE TIME? You'll see why you need these soon. This is what they look like, and you can find them at any office supply store, like Staples.
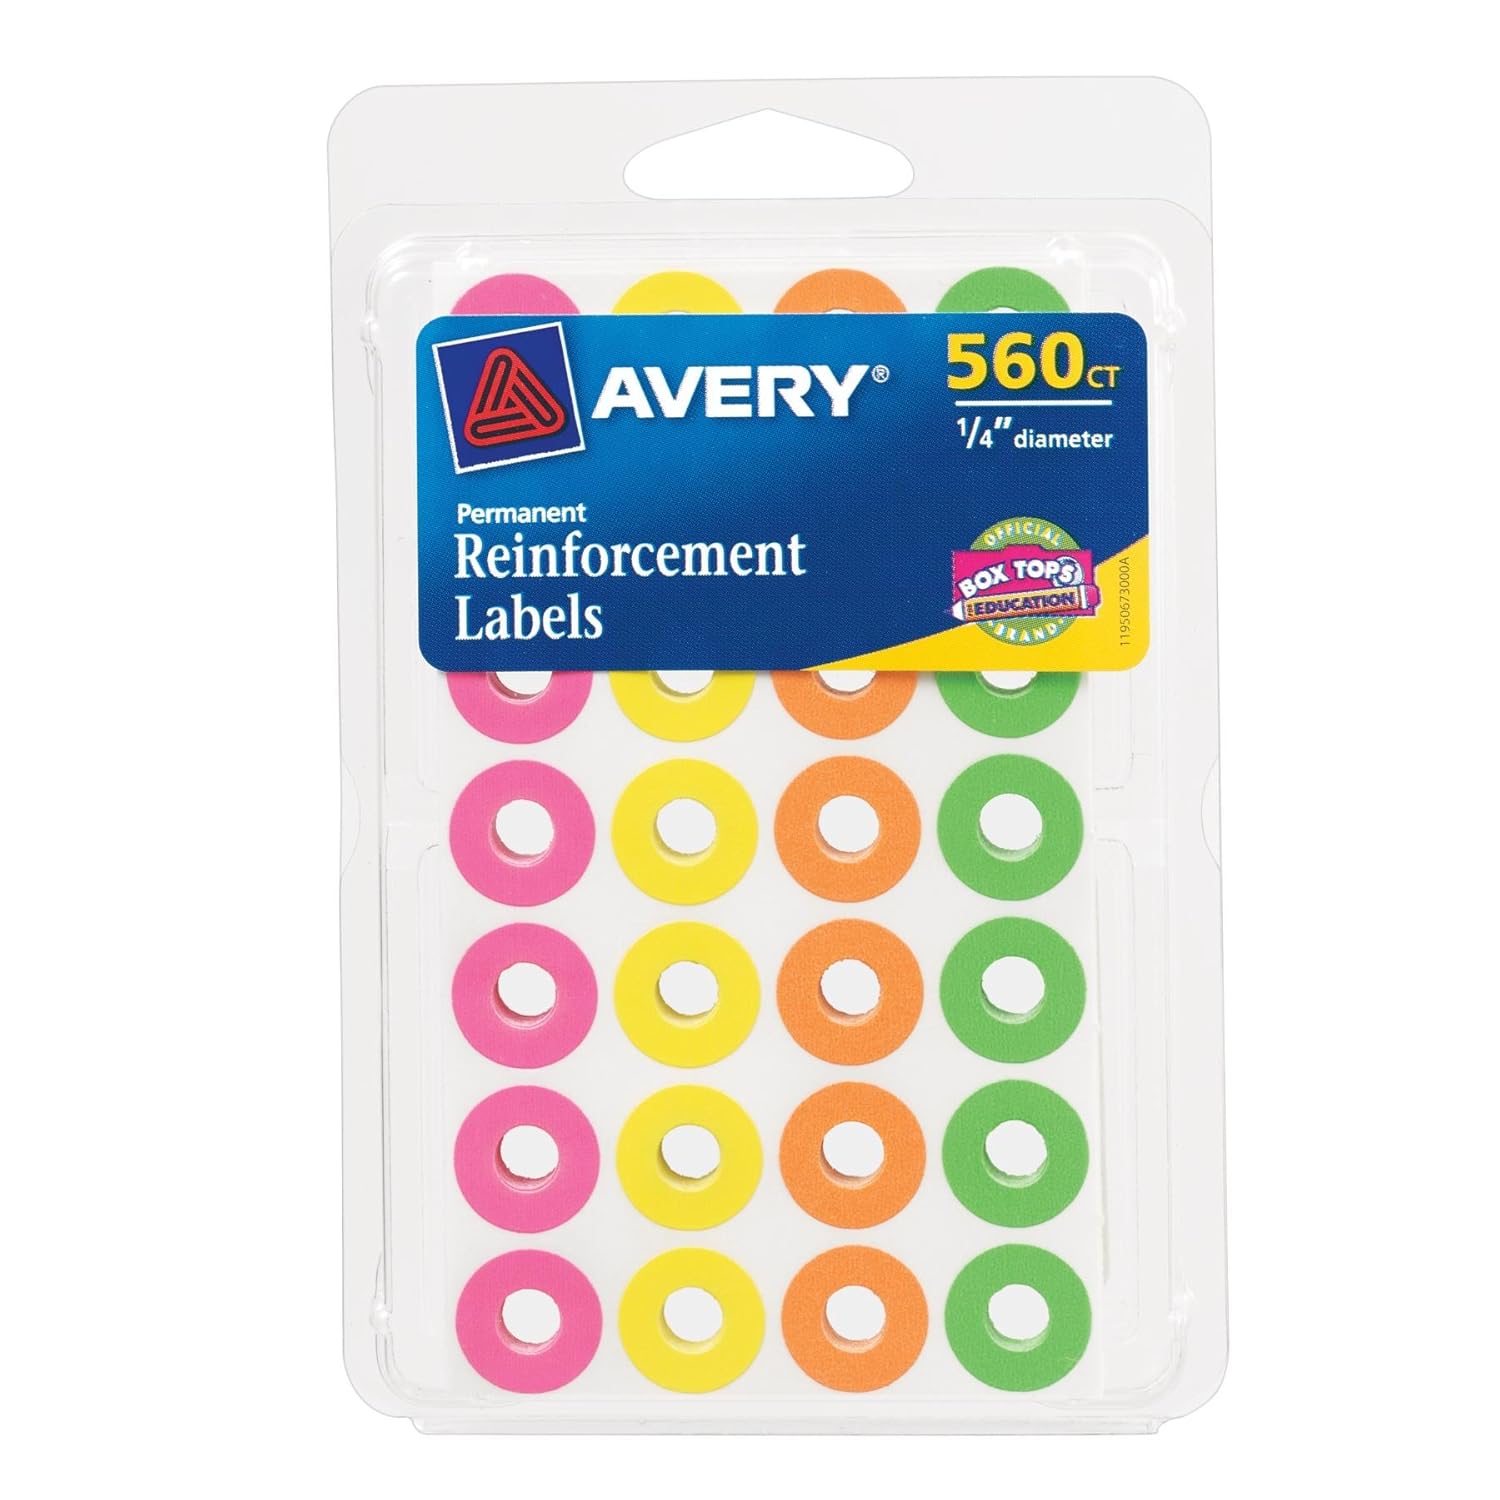 They come in clear (plastic) or white (although I do own some neons like the ones pictured above). For this mani, all I could find in my house were the clear ones, but I would recommend using white or colored ones. It will be easier (once again, you'll see why in a moment). Now, let's get started.
First, give yourself a manicure, if you like! This will enhance the French mani experience. :) This is my routine: First, I remove any existed polish on my nails. Then, I cut and shape my nails with a clipper and a glass file. However, for this manicure longer nails are best, so only clip your nails if you need to, and if you do, leave some length. Also, this French mani technique works on round and square nail shapes, so either is fine. Mine are pretty square, for the most part. Next, I soak my nails in a bowl of warm water for about 3-5 minutes, or until the water cools down. After that, I dry my hands and apply a moisturizing hand lotion and cuticle oil. I then push back my cuticles. Here's a little tip: If you do not have a cuticle pusher or an orange stick, like me, use a Q-tip dipped in either your leftover water that you soaked your nails in or a little cuticle oil to soften the tip. Once that's done, I use nail polish remover and swipe some over my nails to remove them of any oils. Admittedly, I was skeptical of this when I saw the ladies do it at the nail salon, but I did some research, and this provides a good base for your polish. If you have any oils on your nails, the polish will not be able to stick to your nails (even with a base coat on). Now, onto the next step.
First, apply your base coat, if you use one. My current favorites are Sally Hansen's Diamond Strength Hardener and Essie's Grow Stronger. I use them both. First I apply Diamond Strength (this stops my nails from breaking better than the latter) and then Grow Stronger (I find that this provides a better base for my polish).
Next, apply your base color. This should be a nude, pinkish, or beigeish color. I personally like Essie Ballet Slippers. It's a very light nude pink. I apply one coat and that gives me the color I like. You can do one or two, whichever gives you the color and opacity you prefer.
Now, this step is SUPER SUPER IMPORTANT. Wait for your base color to dry for as long as you can before moving on to the next step. Your target goal is 30 minutes. Your nail polish should be completely dry to the touch, and dry enough that you can run your fingers over it without a smudge. Be patient. Please, I cannot stress enough that you must wait until your polish is completely dry. Again, wait AT LEAST 30 minutes.
Okay, now that I've drilled that into your heads, let's move on. Take a reinforcement sticker and stick it to your palm a few times to remove some of the stickiness so it doesn't damage the polish on your nail. Once you do that, press the sticker down firmly on your nail, leaving the tip showing. Make sure that the sticker is pressed down all the way, with no little lifts in the sticker. This is why I recommend using a colored sticker, so you can see that it's pressed down all the way and also so you can see what your tip will look like. You can choose to just leave a little space at the tip, or a little more, whatever you prefer. I left a medium amount. This is what it should look like:
 |
| Note: This is just an image I put together of a picture of my nail (from a past tutorial) combined with a picture of a reinforcement label. It's still what it should look like. :) |
Once you stick it down firmly, take your white polish (I used Spoiled Correction Tape, but any white polish will do) and paint the section that the sticker has blocked off at the tip. As you can now see, the sticker is there as a sort of barrier to protect your nail from getting polish all over it. For this reason, it's okay if you get polish on the sticker, just be careful not to get any in the hole in the center of the sticker where your nail is also showing. So again, using your white polish, paint the tip of your nail that is exposed, the non-cuticle edge, obviously. Once you paint that and it's virtually opaque, wait three seconds and then peel the sticker off. When I see instructions on various websites saying to wait until the polish fully dries and then peel the reinforcement off, I cringe. Doing this will make it harder to peel off the sticker, and you will most likely lose your clean edge and have a ridge in the polish. So peel the sticker off carefully after three seconds. You will be left with a perfect white tip!
Let this completely dry, and then apply your glossy topcoat. What I do first, however, is apply a very sheer pink polish, such as Essie Mademoiselle. This adds a pretty rosier feel to the manicure, and tones down the stark white of the white polish, giving your nails a natural look. I also feel that it pulls the whole thing together. Then, after that has dried, I apply my topcoat. My new favorite is Essie Good to Go! It dries super fast, leaves an ultra-shiny finish, and prevents chipping! Yay!

So there you go! I am really happy with this manicure and I hope that it inspires you to create your own French manicure! (With this tutorial, of course. Ha ha!) Now, this is a traditional French. Experiment with different colored bases and tips, and try nail art too! Maybe search French manicure variations on Google, and that'll give you some inspiration. You can still use the technique I've shown you. Thanks for reading, and remember, sharing is caring, so share this blog with your friends! Ta ta!
........................................................................................................................
XOXO
Is

