Thursday, March 19, 2015

I've Got the Blues: Two-Tone Nail Art

Hi guys! How are you all on this lovely day? Today I have some simple nail art to show you.


Look, it's light blue!


No, it's dark blue!


No! It's...two-toned!

For this manicure I started off with the beautiful but streaky Essie Bikini So Teeny, the light blue. (Three coats.) I used a small paintbrush and Sally Hansen Pacific Blue (the original, bright, medium blue) to section off half of my nail and filled it in. Then, using a dotting tool and OPI Happy Anniversary! (a sheer white pearly shimmer) to make dots at the midpoint between the two blues. I finished off with Wet n Wild's matte topcoat and then added NYC Grand Central Station topcoat on the dots for some shiny contrast. 

The great thing about this nail art is that the sectioning doesn't have to be perfectly neat because you are covering the midpoint with dots. This look is very versatile. You can do it with any colors and maybe even use studs instead of dots down the center! What do you think?

XOXO

Is

Wednesday, March 11, 2015

Sinful Colors Folly

Hi guys! Today I have a quick swatch for you, a few different ways. 


Sinful Colors Folly is a reddish pink creme. It is perfectly opaque in two coats. The formula is a little thick, but that makes it easy to control.


Topped with Essie Pure Pearlfection. Ooh! Nice and shimmery.


Folly+Pure Pearlfection mattified. Eh. Kinda takes the life out of it.

Have you tried any Sinful Colors cremes? Tell me what you think! What's your favorite?

XOXO

Is


Sunday, March 8, 2015

Punk Floral Nail Art

Today's NOTD is a cool combo of girly and grunge! I was in the mood for some floral, but not too much pink. After Valentine's Day I tend to be recovering from pink overload, so I incorporated some edgier elements into this manicure. 


I started off with my base coat (Essie Fill the Gap) and then painted all my nails but the ring finger with two coats of Sally Hansen Satin Glam in Silk Onyx. This is a very dark charcoal with subtle glints of rainbow specks that dries to a satiny matte finish. For my ring finger, I painted two coats of OPI Alpine Snow, my new favorite white polish! Once that dried, I stroked OPI Alpine Snow down one half of my middle fingernail and allowed it to dry. I then used Sally Hansen Tickled Pink and a large dotting tool to make a big light pink circle in the corner of my ring fingernail. I did the same on the white half of the middle nail. Once that dried, I used a toothpick dipped into Nicole by OPI Something About Spring to make darker pink lines on and around the light pink circles. This creates an effortless rose! I then made leaves by dabbing a toothpick next to each rose, dipped into Color Club London Calling, a light green, and OPI My Dogsled is a Hybrid, a medium seafoam jade green. I then added topcoat (NYC Grand Central Station) to the floral half of the middle nail and to the ring nail, but not the matte nails, as I wanted to preserve the different finishes. To finish, I added a stripe of topcoat down the center of my middle nail and put a line of Sally Hansen I Heart Nail Art rhinestones where the two sections met to jazz it up.

I love this mani! Maybe because it's the perfect balance of punk and feminine, or because of the different finishes... Either way, this is one of my favorite manis I've ever done! 

Thanks so much for reading!

Monday, February 2, 2015

Quilted Nail Art

Hi guys! Happy Monday! Did you guys tune into the Super Bowl last night? I didn't except for Katy Perry, because I'm not much of a football person! Haha!

Today I have a quilted manicure to show you. I first saw this type of manicure on The Polishaholic, and was inspired by two of Jen's quilted mani's, this blue one and this matte and shiny black one. 

For my quilted manicure, I chose to do black matte and shiny but add some flair with gold microbeads!

I had to include this picture... so shiny!

I first applied a base coat and then my OCW black polish, Sinful Colors Black on Black. I then applied NYC Grand Central Station to speed up the dry time.


Once the black was fully dry, I used striping tape to create the quilted pattern. I then painted over the whole nail with a fairly thick coat of  matte topcoat. I used Wet N' Wild Wild Shine (irony) Matte Top Coat. Seriously, this topcoat rivals Essie Matte About You, my former go-to matte topcoat. However, once I ran out (actually, I still had about 1/4 left, but it was too thick and flecked with white specks to be usable) I decided to try out Wet N' Wild's. In terms of mattifying abilities, it's fantastic! Probably just the tiniest smidge less matte than Essie's, but I find that this gives it more depth and a "plush" look.

After applying the matte topcoat, I immediately peeled off the striping tape and was left with a cool, luxurious looking mani!


From there, I decided to enhance the feeling of luxury by adding gold microbeads at the areas of intersection of the shiny lines. 

Done! (No topcoat to preserve the texture.)


For my "Cinderella" hand I did plain matte black with an accent nail of OPI All Sparkly and Gold, a fine cool gold glitter topper. These kept the mani cohesive, but allowed me only spend two hours on this mani instead of four, lol. Because really, ain't nobody got time fo dat. ;)

What do you think of this mixed texture mani? Thanks so much for reading!

XOXO

Is


Saturday, November 22, 2014

Be There or Be Square!

In this case it's "be there or be round..."

Say hello!


The great debut of my Roundies. (Wearing OPI Bubble Bath with Wet n Wild's matte topcoat and two Sally Hansen I Heart Nail Art studs.) I enjoy this; yes I do. Subtly chic and trendy.

I broke a corner the other day, and Marta of Chit Chat Nails rounded off her nails too, so it seemed like a good time.

A comparison:


OPI Yodel Me on my Cell on my viciously angular square nails. 

And now for some round spam!


Essie Style Cartel topped with OPI Comet in the Sky. Like a galaxy! Ooh... Ahh...


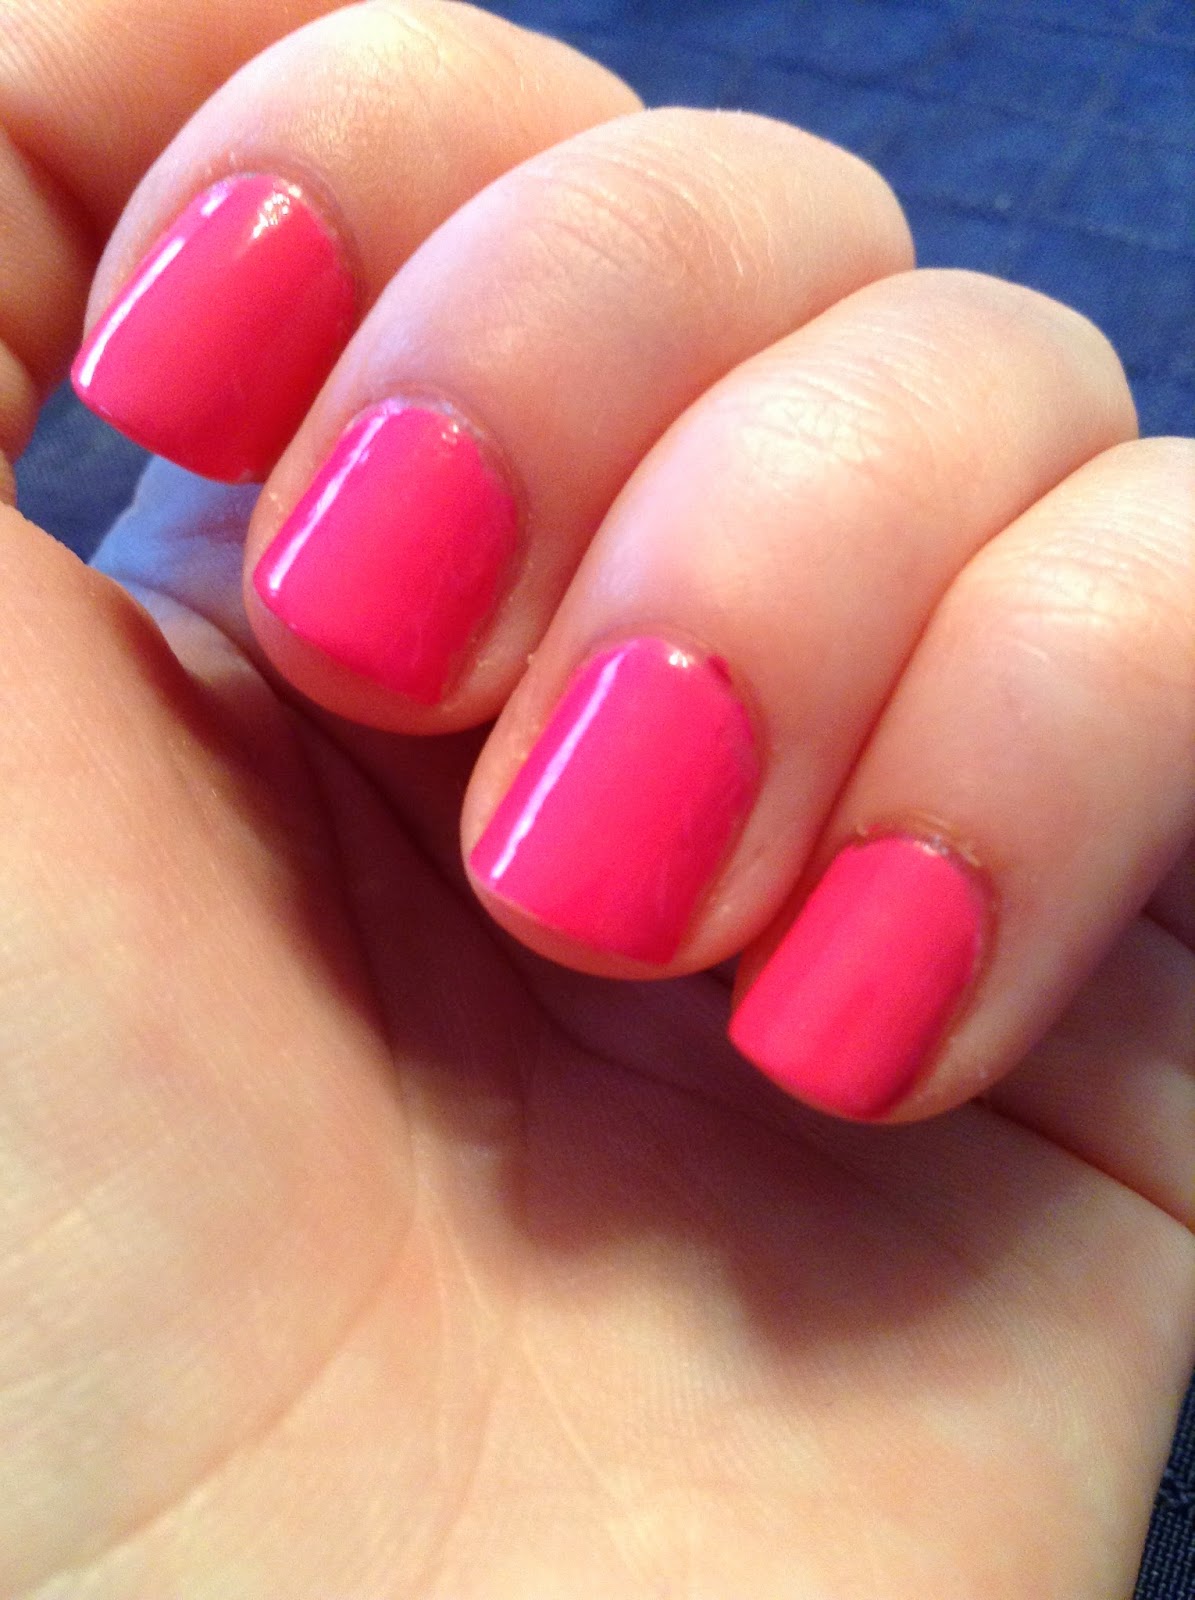
Sinful Colors Cream Pink. Most certainly not a cream... It's a hot pink with warm undertones and subtle gold shimmer in direct light. Girly!


OPI Do You Have This Color in Stock-holm with an accent of Funky Fingers Sand and Stilettos. I loved this mani!

So there you go! Be there or be square, guys... Except my Roundies are no longer here, lol. I kinda didn't like them after a few days and switched to squoval by squaring off the tips. Ah, there's nothing like the indecisiveness of a nail junkie...

Until next time! What is your favorite nail shape?

XOXO

Is

Wednesday, August 27, 2014

Chains Nail Art

Today I have a really edgy mani to show you. Combining matte black, silver, and chains creates a great punk look. Check it out:


I started with a base of Spoiled Visually Slimming and added a coat of Essie Matte About You. (Which I've spotted in CVS; it's about time it started going retail. Woo-hoo!) I then used a thin brush to paint silver chains zigzagging across my nails, so each chain kind of flowed into the next, making it a little more seamless. I used Essie No Place Like Chrome for the chains. I did not use topcoat for this mani. The contrast between the matte black and the metallic silver is so striking, I think, and the fact that the chains are kind of messy makes it so much more edgy.

What do you think of this mani? 

...............................................................................................................................................................

XOXO

Is


Monday, June 9, 2014

Some Recent NOTD's

Greetings, nail lovers! I have A LOT of catching up to do with my NOTD's, so I guess now's the time! Some of them are recreations of various YouTubers' or bloggers' designs, in which case I will link to their post. Oh, and one more thing! I've been doing my lovely friend's nails recently, so some of these mani's are hers.


Here we have a lace half moon mani. This is a sort of recreation of Lucy's Stash's Lace Half Moon Manicure, one of several that she's done. I used Spoiled Correction Tape to paint the white base. I waited for it to completely dry, then applied reinforcement stickers to the "half moon" area and painted over it with Sinful Colors Cream Pink, a squishy neon pink with gold shimmer, and peeled off the reinforcements, revealing a white half moon. I waited for THAT to dry, and then used a black Hot Designs nail art pen to make a smaller half moon inside the white one and then black dots at the edge of the white half moon, and then connected the small black half moon to the black dots with black lines. Wheeee!


Here is just a simple mani with an floral accent nail. This are the gorgeous nails of my very dear friend, who I am currently getting addicted to nails. The hot pink is Essie Mod Square, which you can find a review of here. The accent nail is Essie Fiji, with flowers made with a dotting tool. The blue is Essie In The Cab-ana and the silver centers are Essie No Place Like Chrome. This mani definitely shows that I LOVE Essie!


This mani is based on the Chit Chat Nails' technique called a Skittlette, which she describes here. I like this idea a lot! However, I didn't quite like the result. Originally I had made the my pinkie completely covered in pink glitter, but I didn't like the look of that, so I took it off and changed it up. I started with a black base (Spoiled Visually Slimming). I then used a tiny paint brush to paint small swirls on the middle and ring fingers with Essie Mod Square and then went over the swirls with Essie A Cut Above. I finished with a matte top coat and then added a faux rhinestone with A Cut Above at the base of the nails. Done!


This is a nice mani, cute and sweet. It is a recreation of cutepolish's Pearls and Pastel nails, which I really liked! I painted the bottom half of my nails with Sally Hansen Lacey Lilac. I then added white stripes to the purple with Spoiled Correction Tape with a tiny brush and used a dotting tool to add white dots where the purple met the naked nail. I added OPI Happy Anniversary! to the white dots to imitate the nail art pearls (which I don't have). I finished with top coat, and then added a matte top coat to the polish! Pretty!


Here are my awesome friend's nails again! This is a simply triangle look. I started with Sally Hansen Pixie Slicks, a nice bright pink. I then blocked off a triangle with Scotch Tape at the tip of the nail with Spoiled Paying With Platinum, an interesting duochrome. It's grayish with flashes of purple, and at extreme angles, green. It went well with the pink... I like green and pink and purple together!


This is a recreation of a look from a video by MissJenFABULOUS, a YouTuber. I started with Essie In The Cab-ana on my thumb, pointer, and pinkie fingers and Sally Hansen Pixie Slicks on my middle and ring fingers. I stroked In The Cab-ana down the middle of my middle and pointer fingers and then, with a tiny paintbrush, I flicked white (Spoiled Correction Tape) and the pink over the blue. On my 
thumb, pointer, and pinkie fingers, I made a large dot of pink at the base of my nail and a smaller pink dot above it, and smaller white dots inside the pink dots. Voila!


This was a rainbow dotticure. I used (in ROY G. BIV order) Essie Mod Square, Essie Really Red, Sally Hansen Sun Kissed, some non-brand random yellow ice cream shaped polish, Spoiled I'm So Jaded, Sally Hansen Blue Me Away, and OPI Funky Dunkey. I made rows of dots with a dotting tool. I wore it like that, then a few days later added Maybelline Clearly Spotted on top. It looked sort of ombre this way!


Now we have watermelon nails, again on my BFF. I started with Sally Hansen Coral Reef for the watermelon color, and then with the Kelly Green polish from the Hot Designs nail art pen I made a green French tip. I added a white line with the white Hot Designs pen in between the green and coral. Then, with the black pen, I added three seeds on the coral.


Last (and kind of least), we have a jelly sandwich. The polish I used was a bit too opaque, but oh well. I started with two coats of Orly Sky Blue Color Flip, a blue polish with a lavender and sometimes sea foam green sheen. I added a coat of Essie Set In Stones, a silver hex glitter, and then another coat of Orly. It turned out to be a bit thick, but it was a really nice mermaid-y look.

Whew! Well, that's it! I'm all caught up. I hope you enjoyed, and maybe it gave you some inspiration! If you decide to recreate something, please show me in the comments down below! See ya!

..........................................................................................................................................................

XOXO

Is

Thursday, April 3, 2014

NOTD: Faux Stud Manicure and Essie Lots of Lux Swatch and Review

Hi guys! So I came up with an awesome new mani yesterday! Here it is:

This picture was taken in the sunlight.
Ok, in the picture it doesn't look that spectacular, but I assure you, it's glorious.

I used two polishes: The blue is Essie Lots of Lux (part of their winter 2013 Encrusted Treasures collection) and the silver dots are Essie No Place Like Chrome (from their Mirror Metallics collection).

So first, let's start off with the review! Essie Lots of Lux is actually a textured polish! The finish is similar to that of OPI's Liquid Sands, meaning that the finish looks like liquid sand! (You don't say!) It's a medium-dark blue polish and the "sand" is a medium blue. It dries to a matte finish, but there are flecks of different colors in it as well that sparkle and glint beautiously! (I know, that's not a word, but...) The most prominent sparkles are light blue. The next most visible sparkles are yellowish-green. I know, it sounds kind of weird to have that color in a blue polish, but it actually adds some really nice, subtle contrast. There are also very few green sparkles in there, but I'm not sure if those are just the yellow ones in a different light.

Here's a picture of the bottle. I made it blurry on purpose so you can easily see the different colored sparkles.


Here's an in-focus bottle shot.


If you see any other colors in there that I missed, great! Let me know in the comments.

Ok, let's talk application now. This polish is very thick (because it's textured) which made it a little tricky to apply. It spread out on the nail ok, but the strokes were a little hard because the thickness of the polish "grabbed" a little. It dried pretty fast, though!

This polish is not intended to be used with a topcoat, so I didn't apply one. However, the next time I use this polish I might! Check out the Polishaholic's swatch of Lots of Lux with a topcoat here, along with the other polishes in the Encrusted Treasures collection!

Now, let us explore nail art possibilities. 

I call this mani the Faux Stud manicure, and you will see why.


Check out this picture again. The dots are not just dots! In actuality, they are the "faux studs!" You have probably seen a LOT of studded manis floating around online lately, because nail studs are a HUGE trend right now! However, if you're like me and want to take part in this trend but don't have the studs, read on!

You will need two (or three) polishes to achieve this look. The first one must be a matte polish. You may use a regular polish with a matte topcoat if that is what you have, though (this is where the third polish would come in: the matte topcoat). The next polish must be a chrome polish. Chrome polishes are usually very opaque and leave a smooth, metal-like finish. I used Essie's No Place Like Chrome. 

This manicure is really simple. Just paint your nails with your matte polish and let it dry. Then, take a dotting tool and make three dots with your chrome polish on either side of your nail, on all of your nails. If you don't have a dotting tool, I have two alternatives for you. First, you could use a toothpick, just make sure you pick up a sufficient amount of polish so the dot isn't too small. Second, you could take a regular pencil and stick a straight pin into the eraser! This is actually what I use, I just took a number two pencil with the eraser intact and stuck a pin in it. Quite easy, really.

Don't finish off with a topcoat on this design, as you want to keep the matte matte and the chrome shiny.

I can think of some really cool color combos for this mani! A cool one would be matte navy blue (such as Essie Bobbing for Baubles with a matte topcoat) with copper dots (maybe with Essie Penny Talk) to imitate jeans! That would look pretty slick. Or for a punk biker look, opt for a matte black (like OPI Black Onyx with a matte topcoat) with silver dots (using Essie No Place Like Chrome). Or, get creative and use whatever polishes you have! You really can't go wrong with this simple but chic mani. 

Well, that's it for this post! See you soon!

..............................................................................................................

XOXO

Is

Friday, March 21, 2014

Manicure Tip: Don't Flood the Cuticle!

Hi guys! Today I'm just going to do a quickie post. Read on for a tip for when you're painting your nails!

Take a look at these two pictures of my manicures. Obviously, the colors are different, but what is the other main difference?

Essie Mint Candy Apple (Matte)
Essie Mod Square
You got it! The application! Notice that on the first mani the color goes alllllllll the way back, flooding the cuticle... Not very attractive. In the second mani, the polish doesn't go that far back. It leaves a tiny, tiny space, just before the cuticle.

Notice what a difference stopping before you paint your WHOLE nail makes! With a little more precision and care, you can achieve a look that is professional, rather than one that screams "I'm an amateur just slopping polish onto my nails!"

So! The next time you paint your nails, be careful to stop just short of your cuticle! It makes a huge difference and you'll be a lot happier with the result.

That's all for this post! See you next time!

....................................................................................

XOXO

Is